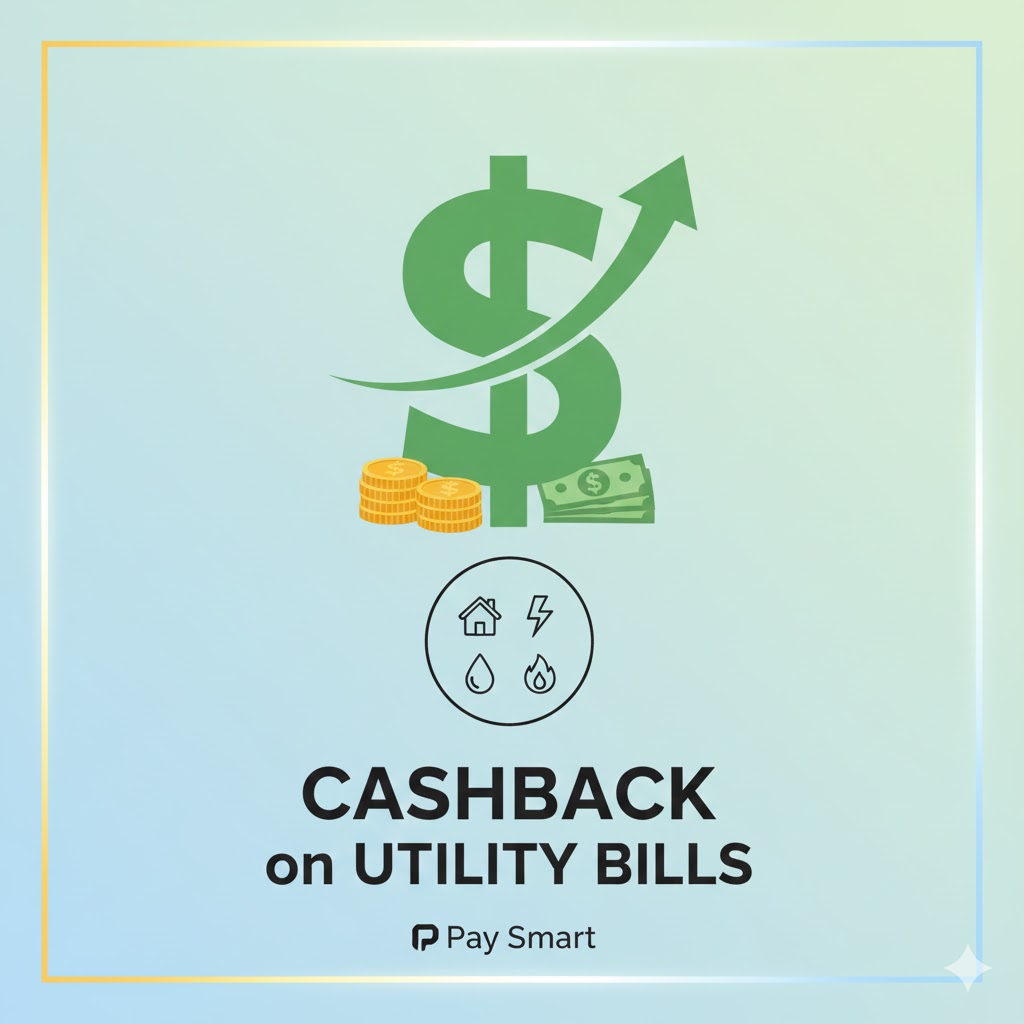
How to configure domain and hosting | Bluehost India

How to configure domain and hosting | Bluehost India

To start with your own self-hosted blog you need two things Domain name and Hosting. Domain name is basically the URL of the website like mine is technofall.com. Next is the shared server space which is termed as hosting where you will actually host all your website data/files. Now the question that arises is how to configure domain and hosting. By configuration I mean when someone types in your domain name in the address bar, he or she should be redirected to your hosting/server where all the files are stored. So basically we need to give some information about the hosting to the domain.

Buying domain and hosting

Before configuration let me tell you some important steps/tips before buying. 

  • Try not to go for cheaper hosting as they will have greater downtime and your website will load slow
  • If you are planning for multiple websites, then go for multi-domain hosting or a VPS if your budget is higher. This will help you in long term
  • Next to check the availability of domain name you can always visit this website or may be use the hosting provider’s website for it. Ofcourse it is subject to availability
  • Try to go for .com domain and a shorter name as people tend to remember that easily
  • While purchasing hosting the first question that will pop up is, would you like to buy a new domain or use an exisitng one, choose accordingly
  • The greater the tenure of hosting the cheaper will be the cost per month
  • Always buy using a discount code. Contact me for discount code at: karan@technofall.com or comment or Facebook me. I will get you the best offer that you can’t refuse
  • Some providers only accept credit cards while others accept debit card and netbanking too

How to configure domain and hosting | Bluehost India?

Now to start with, we will take an example of Bluehost India which is basically hosting provider company. You can get all sorts of hosting from shared to VPS. We will start with single domain hosting which can host one website only and then move on to multi-domain hosting.

Note: No matter which hosting or domain provider are you using, the setup is pretty much same for all.

There can be two conditions :

  1. You bought the domain and hosting from the same provider, which is the best thing to do as the domain cost is discounted for new account.
  2. The domain and hosting are purchased from different provider

For both the cases the settings are almost similar. In the second case you can go ahead and transfer the domain name with the new hosting provider if you want. We will not talk about how to shift domain from one provider to another, google that. So let us see how to configure domain and hosting.

  1.  Log in to the account from where you purchased hosting.
  2. Next search for what is called the “Name Servers” which is the name of your server. An example for bluehost will be something like ns1.cp-in-8.webhostbox.net, ns2.cp-in-8.webhostbox.net  (Normally it is in this format – ns1.serviceprovider.com, ns2.serviceprovider.com or may be .in.net). Your’s can be totally different so please make sure you check it properly.
    How to configure domain and hosting | Bluehost India

    Link Search orders bluehost India

    How to configure domain and hosting | Bluehost India

    Domain name bluehost India

  3. For bluehost you can find all the settings in Manage Orders – > List/Search orders. Next just select the domain name. While purchasing make sure you enter the correct domain name or else you will have to cancel and buy it again. I know its annoying, earlier you could change it easily.
    How to configure domain and hosting | Bluehost India

    All settings bluehost india

  4. Next you will see the main dashboard where you will find the Name Server Details.
    How to configure domain and hosting | Bluehost India

    Name server details

  5. After you have got the two name servers, time to enter it in the domain settings.
  6. If you have bought the domain from other provider then login to that account, or if it from the same provider then just go into domain settings.
  7. Search for Name server option in domain settings. The location to setting is different with all the providers.
    How to configure domain and hosting | Bluehost India

    Enter name server in domain setting

  8. Next you will get like 4-5 text box with may be pre-entered name servers. Just delete those default ones and enter the name servers that you got from the hosting account.
  9. After this, the update of name servers may take as long as 48hrs.

You can always check for the name server update on who.is website. Or may be ping your domain name and it should return reply with the new server IP. To see the changes at your end you may need to delete cache of your browser or open CMD and type “ipconfig /flushdns” or restart your router. So basically this will answer your question how to configure domain and hosting. Next you need to setup the website for which you can use ready made CMS like wordpress or others with their one click installation available. There can be exceptions in setting and some hosting provider may need to point your domain directly to the server IP. If that is the case then you can always ask for their help and they will guide you over phone/email.

So these were the steps on how to configure domain and hosting. Sometimes this can be a complicated thing if you miss out any step. Once you get a hang of it, things will get easier. If you still are not confident or you have any doubts on how to start with your own blog, please write to me or mention it in the comment section below.

wordpress security

Enable 2 factor authentication on wordpress website or blog

Enable 2 factor authentication on wordpressWordPress is one of the biggest tool and CMS (content managing system) to make a website or start a blog. Also it is open source, so many people prefer to use it. But now, many wordpress websites/blogs are falling prey to attacks by hackers. Attacks include brute-forcing, stealing password by hacking pc and many more. So bloggers have to take some protective measures to prevent these attacks. We can enable 2 factor authentication on wordpress website and protect our websites/blogs.

What is 2 Factor Authentication??

2FA or 2 step verification is a system in which, 2 factors are used to authenticate particular account. That means you will need something more than username and password to login to your wordpress account. You will need a code, which is generated randomly after 30 seconds and can be used only 1 time.

Many famous website like Gmail, Facebook, Twitter, and many internet banking sites have this 2 step verification already. This increases your security.

For wordpress we will generate the code using a app named Google Authenticator. For wordpress blog, there is a option to get codes via sms i.e. similar to Gmail verification.

Download Google Authenticator:

Android

iPhone

Windows

INSTALL the application on your mobile and configure it. If you need any support, then visit this LINK. After installing the app you can move to the next step.

How to enable 2 factor authentication on wordpress??

A person can have a WordPress Blog, or a Self-Hosted WordPress Website. There are different method to add 2FA (2 factor authentication) to both. We will see for both one by one. We will first see for blog, and then for self hosted wordpress website.

For WordPress Blog

WordPress blog means the one which is hosted on wordpress. For example www.blogname.wordpress.com

  1. Go to wordpress.com and sign with your username and password.
  2. Go to this LINK. Select your smartphone.
    Enable 2 factor authentication on wordpress

    Select smartphone

  3. If you have already downloaded the app, then click ‘next step’ or download the application (Google authenticator).
  4. Launch the app. Go to options-> set up account -> Scan a barcode. Then scan the barcode you see on the screen.
    Enable 2 factor authentication on wordpress

    Choose scan a barcode

  5. Now your app will start generating codes. Enter the code you see to verify. After that click Finish.
  6. From now onwards whenever you sign in to wordpress account or your blog, you will be asked the code that your app generates along with normal Username and password.

Note: If you don’t have a android,iphone or windows phone you can use verification via SMS.

Via SMS
  1. SIgn in to wordpress account and goto this LINK. Now click use two step verification via sms. (Refer image below). 
    Enable 2 factor authentication on wordpress

    2-step verification via sms (Only for wordpress blog)

  2. Now enter country code, your mobile number, and then click on send sms. You will receive code via sms. Enter it and click verify.
  3. Now you are done with 2-step verification via sms.

You can generate Back-Up Codes in case your phone gets lost. Print the backup codes and keep it safe.

For Self-Hosted WordPress Website

Self-hosted wordpress sites are those which are hosted by us on some

  1. First download the google authenticator app for your mobile. (As stated at the beginning)
  2. You will need a plugin named google authenticator.
    Download
    Install it on your wordpress website.
  3. Login to your wordpress dashboard, and go to User-> Your profile.

    Enable 2 factor authentication on wordpress

    User-> Your profile

  4. In that enable Google authenticator settings by clicking the checkbox in front of active.
    Enable 2 factor authentication on wordpress

    Enable google authenticator settings

  5. Now in front of secret, you will see a button ‘show/hide QR code‘. Click on that and a barcode will appear.
  6. Launch authenticator app on mobile, go in options-> set up account -> Scan a QR code. And scan the code.
    Enable 2 factor authentication on wordpress

    Scan a Barcode

  7. After completing scanning click ‘update profile‘ at the bottom of the page.
  8. Log out of your account, and try to login in again. Now you will be asked for Google authentication code, along with username and password.
    Enable 2 factor authentication on wordpress

    2-step authentication enabled

This was the method to enable 2-factor authentication on wordpress blog or website.

If you lost your Mobile Phone

What to do if you lost your mobile phone?? The solutions will be :

  • For Blog you can generate backup codes and keep it with you. So whenever you lost your mobile, you can use the backup codes.
  • For self-hosted wordpress website, go to your hosting account-> File manager-> delete the plugin from the plugins folder. Now you will be able to access your wordpress website without codes.

For Multi-User

According to the plugin developer it supports multi-user. So you can scan the same barcode from your friends mobile and he will also be able to access the website using 2-step authentication.

If you have any doubts or question regarding above tutorial, feel FREE to post them in the comment section below.

JOIN TechnoFall on

Facebook

Follow us on Twitter

How to know the theme name of wordpress website

Find theme name of wordpress website

All the users of internet visit various websites while they surf on the net. So at some point of time, user may become curious about knowing the name of theme used on website. May be because the theme is looking good, and they want to give it a try, or any other reason. Now many of the websites are based on WordPress. And also, WordPress is the most popular blogging system in use on the web. So today we will see, how to find theme name of WordPress website.

The methods i am going to explain is easy and everyone can use it with comfort. This will work work only if, the name is not encrypted by its admin. We will discuss two methods. The 1st is bit lengthy, but knowledge gaining, while 2nd one is quick. Try both. So lets start.

How to find theme name of wordpress website??

METHOD 1: Lengthy

  1. First you need to go to the website, who’s theme name you want to know.
  2. Now right click on the website, and select view page source or view source.
    Find theme name of wordpress website
  3. A bunch of code will appear in front of you. Don’t get afraid by seeing all that.
  4. Just press ctrl+f and then search for websitename.com/wp-content/themes (don’t mention www, directly start with websitename)
    Find theme name of wordpress website
  5. Now you will find the name of the theme like below

    websitename.com/wp-admin/themes/ThEmEnAmE

    Find theme name of wordpress website

  6. So here is the theme name, search it on google, and then download it, if you want to give it a try.

METHOD 2: QUICK

  1. Go to this WeBsItE
  2. Now just type the website address in the box provided and press enter.
  3. You will come to know the name, author and much more info about the theme. This tells you more then the name of theme.
    Find theme name of wordpress website

Now the 1st method gives you a bit info about coding and 2nd one give you more detail of theme. So try both to gain maximum knowledge.

If you have any doubts regarding these methods, then feel free to post in the comment section below, I would be happy to help you.

Also JOIN US on

Facebook

Twitter