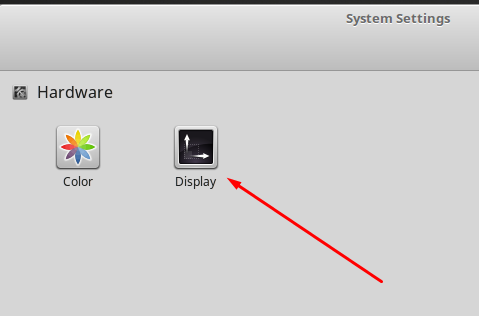
How to change resolution of unknown display in Linux
Mostly people avoid using Linux as it is more inclined towards commands and not GUI. But some of the distributions like Ubuntu, Mint etc provide good GUI interface to interact and customize things. Using commands will give you a thorough knowledge of the actual things happening inside the system. Like today I connected my laptop…
